The simplest way to install various Unix tools and open source projects onto Mac is via a package manager. Unfortunately, Mac doesn't offer one by default so we'll use Homebrew.
Step 1 - xCode command line tools
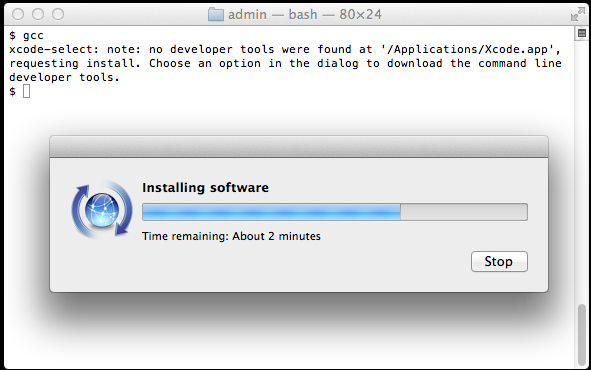
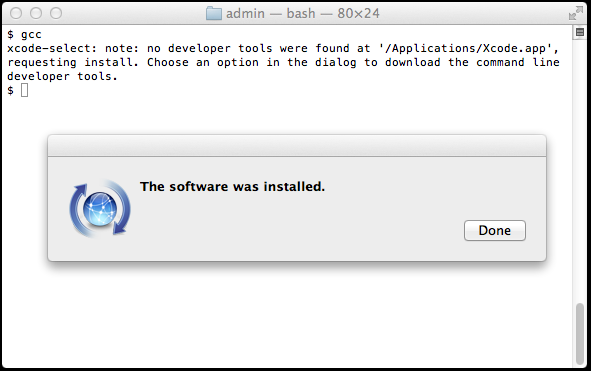
Install Mac OS X command line tools so that you can then install the homebrew package manager.
Open up Terminal and type:
xcode-select --install


Double Check your work
If you see terminal respond back with a path to "CommandLineTools", then you're good to go.
xcode-select -p

Step 2 - Install Homebrew
Please paste this into Terminal.
/usr/bin/ruby -e "$(curl -fsSL https://raw.githubusercontent.com/Homebrew/install/master/install)"
Once homebrew has completed installing itself, double check your work.
brew update && brew doctor
Managing Packages
Homebrew is a package manager so here's how you install packages such as MySQL, MongoDB or Postges.
brew install [product]
Uninstalling a Package
brew uninstall [product]
Get the info of a specific package
brew info [product]
List packages
View your installed Homebrew packages.
brew list
Find a specific function through filters.
brew list | grep 'package-name'
View all top-level packages.
brew leaves
Homebrew Services
Homebrew has a tap command that allows it to tap into other software repositories allowing you to expand your options of installable software. One of those repos is called services which can help you start, stop and restart your databases.


