Deprecated
Openshift v2.0 has now reached End of Life and will be replaced by v3.0.
Red Hat Openshift makes it really easy to install both SSL and use a custom domain. The first step is to upgrade your Openshift to Bronze so that you can gain access to the SSL form feature.
You will also need to purchase an SSL certificate. I purchased mine from GoDaddy.
Setup
The first thing you'll want to do is ensure that you've installed Red Hat's command-line tool using these instructions.
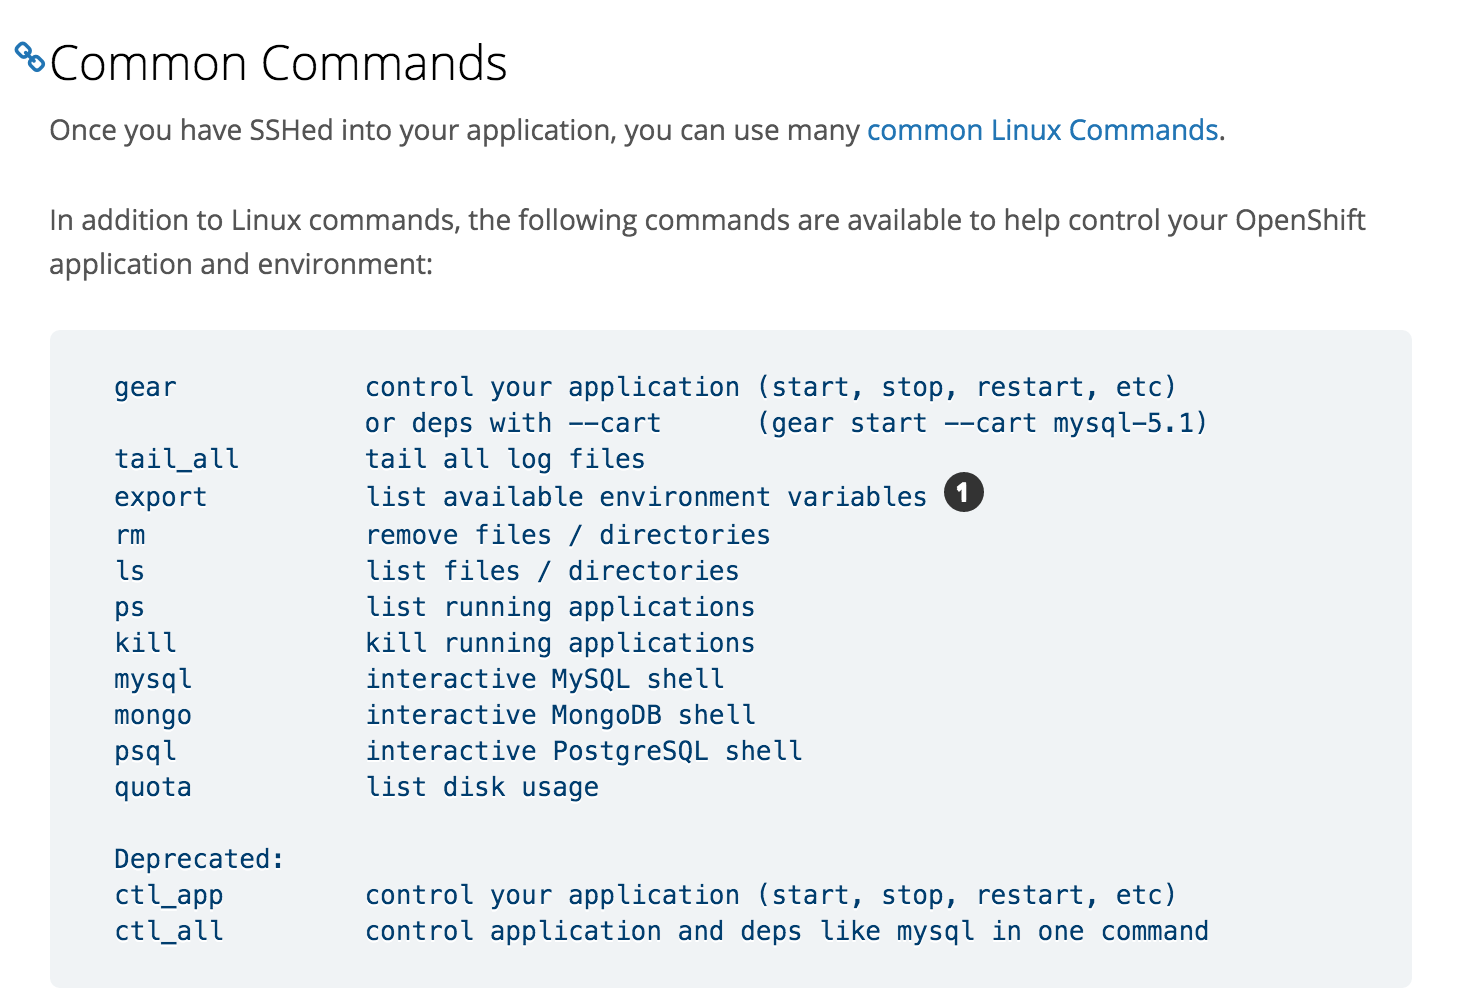
Step 1 - SSH into your Openshift app
Use this rhc command to log into your app.
rhc ssh -a <app name> --namespace <namespace>
Note: Your --namespace is usually the name right after your app name. For example:
http://appname-namespace.rhcloud.com
Step 2 - Change directory
cd ~/app-root/data
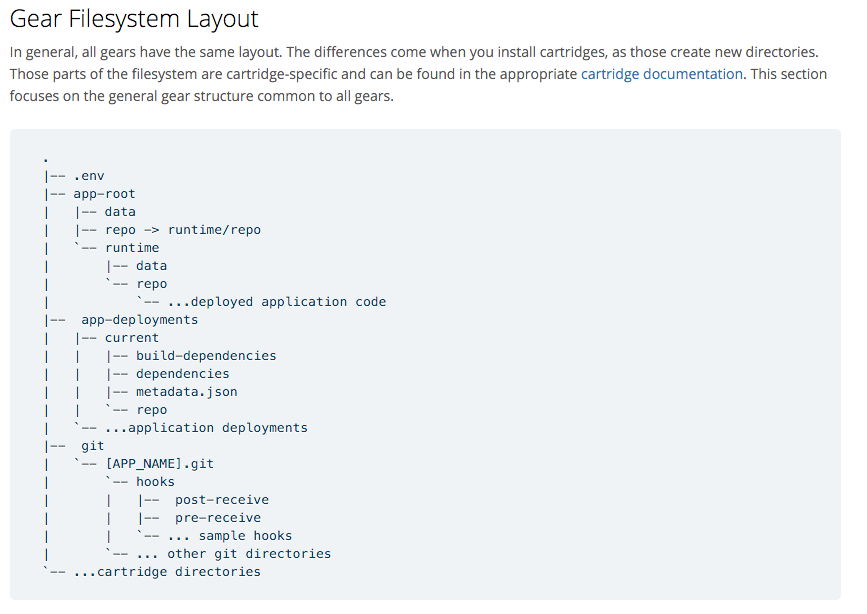
Step 3 - Reviewing Openshift File Structure
If you'd like to understand more about the Openshift file structure, here is an excellent diagram.

Create an SSL certificate for Godaddy
Before you generate a CSR, you need to first generate a private key. This private key will be installed on the server together with the issued certificate. A private key should never be shared with anyone and should be protected by a passphrase. There are two ways to generate the CSR and private key.
Step 4 - Create an RSA Private Key
The following command will generate a 2048 bit RSA Private Key and stores it in the file appName.key.
openssl genrsa -des3 -out myPrivKey.key 2048
Step 5 - Create a Certificate Signing Request
After you have generated the private key, use the following command to generate the CSR.
openssl req -new -key myPrivKey.key -out myCert.csr
Step 6 - Complete CSR Form
You will be prompted to enter the some of the following information in order to generate the private key and CSR pair off the web server
Country Name (2 letter code) [XX]: US

State or Province Name (full name) []: California

Locality Name (eg, city) [Default City]: Los Angeles

Organization Name (eg, company) [Default Company Ltd]: Chris Mendez Inc.

Organizational Unit Name (eg, section) []: I SKIP THIS

Common Name (eg, your name or your server's hostname) []: www.chrisjmendez.com

Email Address []: mail@chrisaiv.com
Step 7 - Copy and Paste
Once the private key and CSR files are generated, display the content of myCert.csr file. Copy the entire block, including the BEGIN and END lines and paste it into where the CSR is requested on the website where you purchased the SSL.
nano myCert.csr
Step 8 - Download Private Key
Download your private key file and save it as myPrivKey.key on your computer. Later, you will need to add this key file together with the SSL certificate for your domain to your application.
nano myPrivKey.key
Resources
- Sucuri: How to install an SSL certificate
- Install Openshift Tools
- Openshift: Custom SSL Certificates
- GoDaddy Certificate Signing Request


