Step 0 - Complete the Part 1
In part 1, you will learn how to:
- Set up your development environment
- Create a wallet and get some free tokens
- Verify that your system is set-up properly
Step 1 - Register to Dfinity Forum
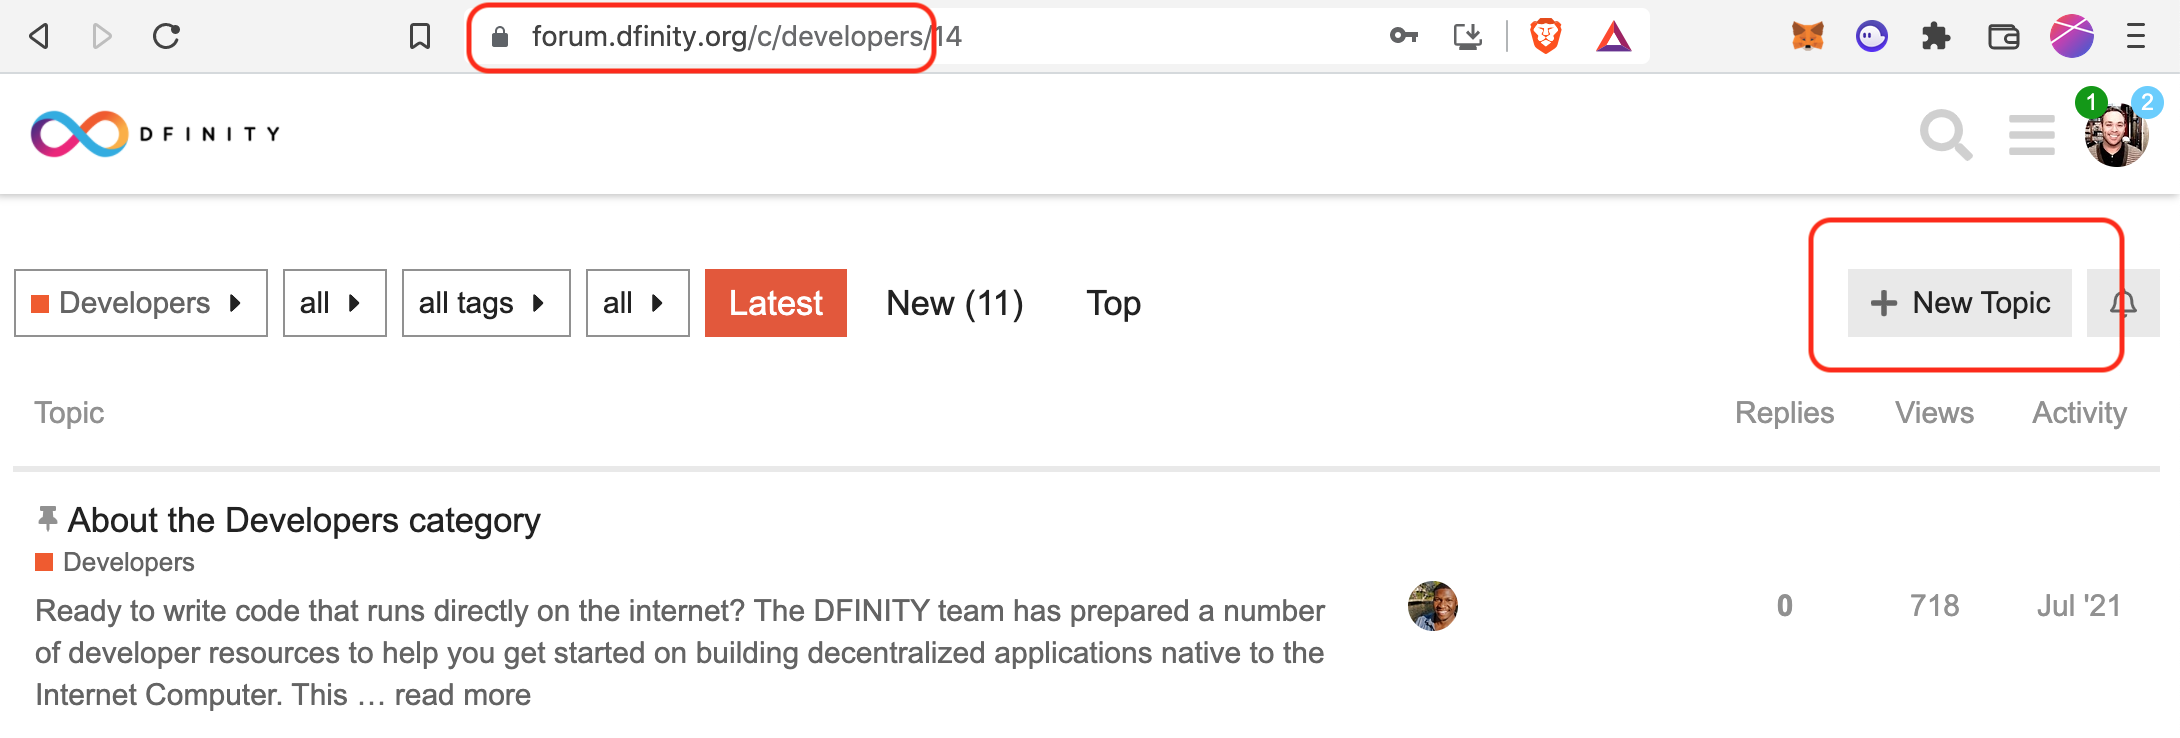
Launching an app on Dfinity is a very different experience and I found it helpful to always keep a forum tab open.
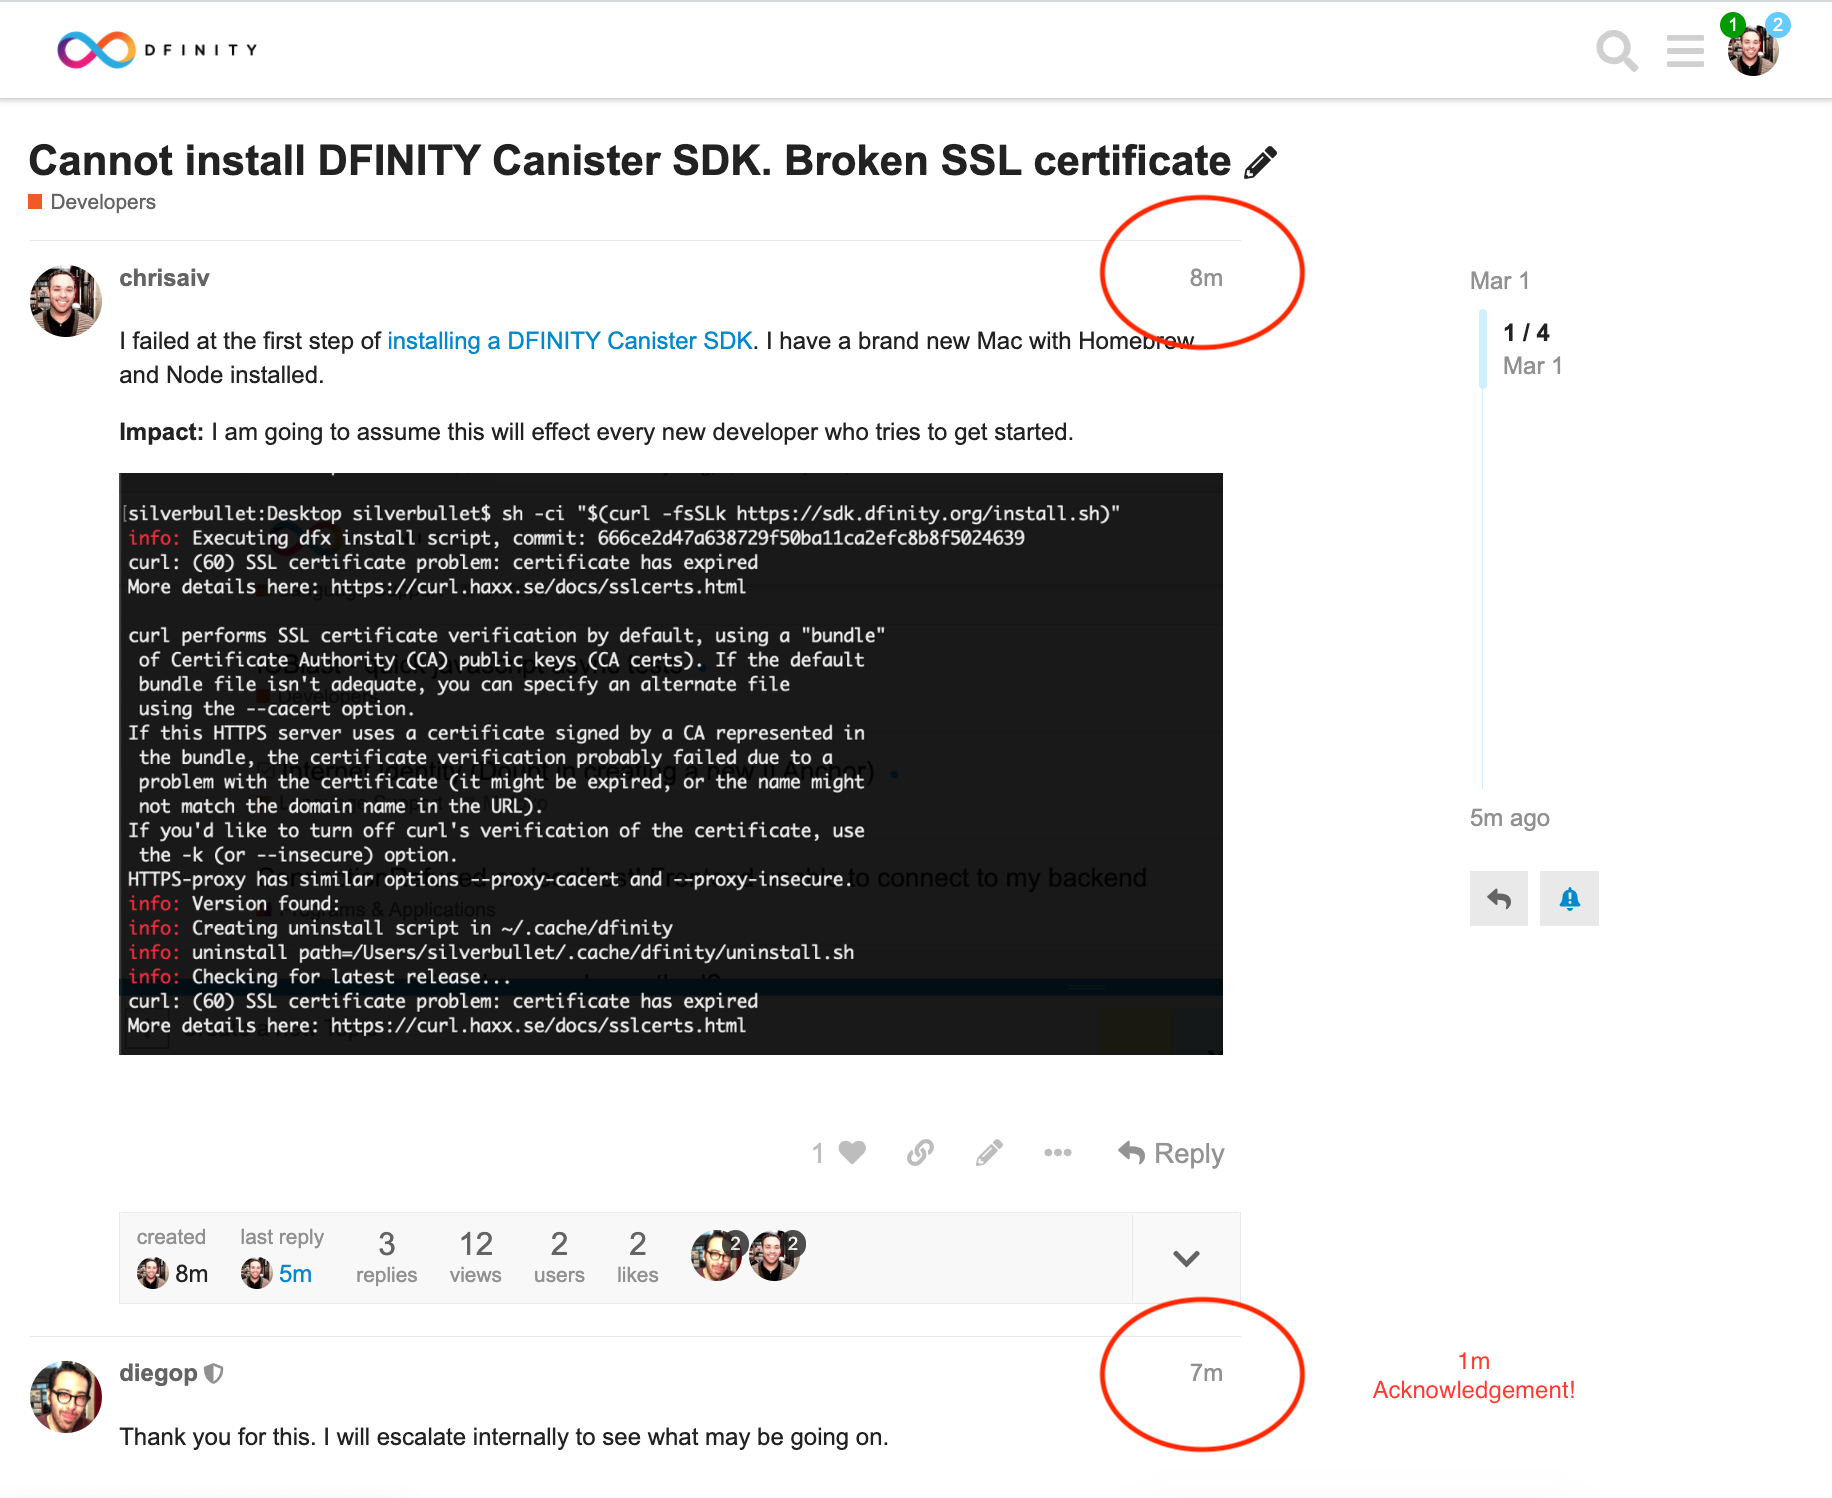
One call-out worth mentioning is that the support team is incredible. If you run into a bug, submit your bug to #developer channel by selecting "New Topic". I discovered a bug with their SSL certificates and received a response in a few minutes.
1min bug submission acknowledgement!
Verify your principle ID. You will need this later so its best to just get it now.
dfx identity get-principal
Step 4 - Create Your Project
This is where you will create your very first canister.
cd ~/Desktop
Create a new project
dfx new ~/Desktop/my_first_app
Step 5 - Start Your Local Deployment
It's suggested that you have two Terminal views open at the same time to see the changes happen.
On the left, I start my server and on the right, I continue developing
dfx start
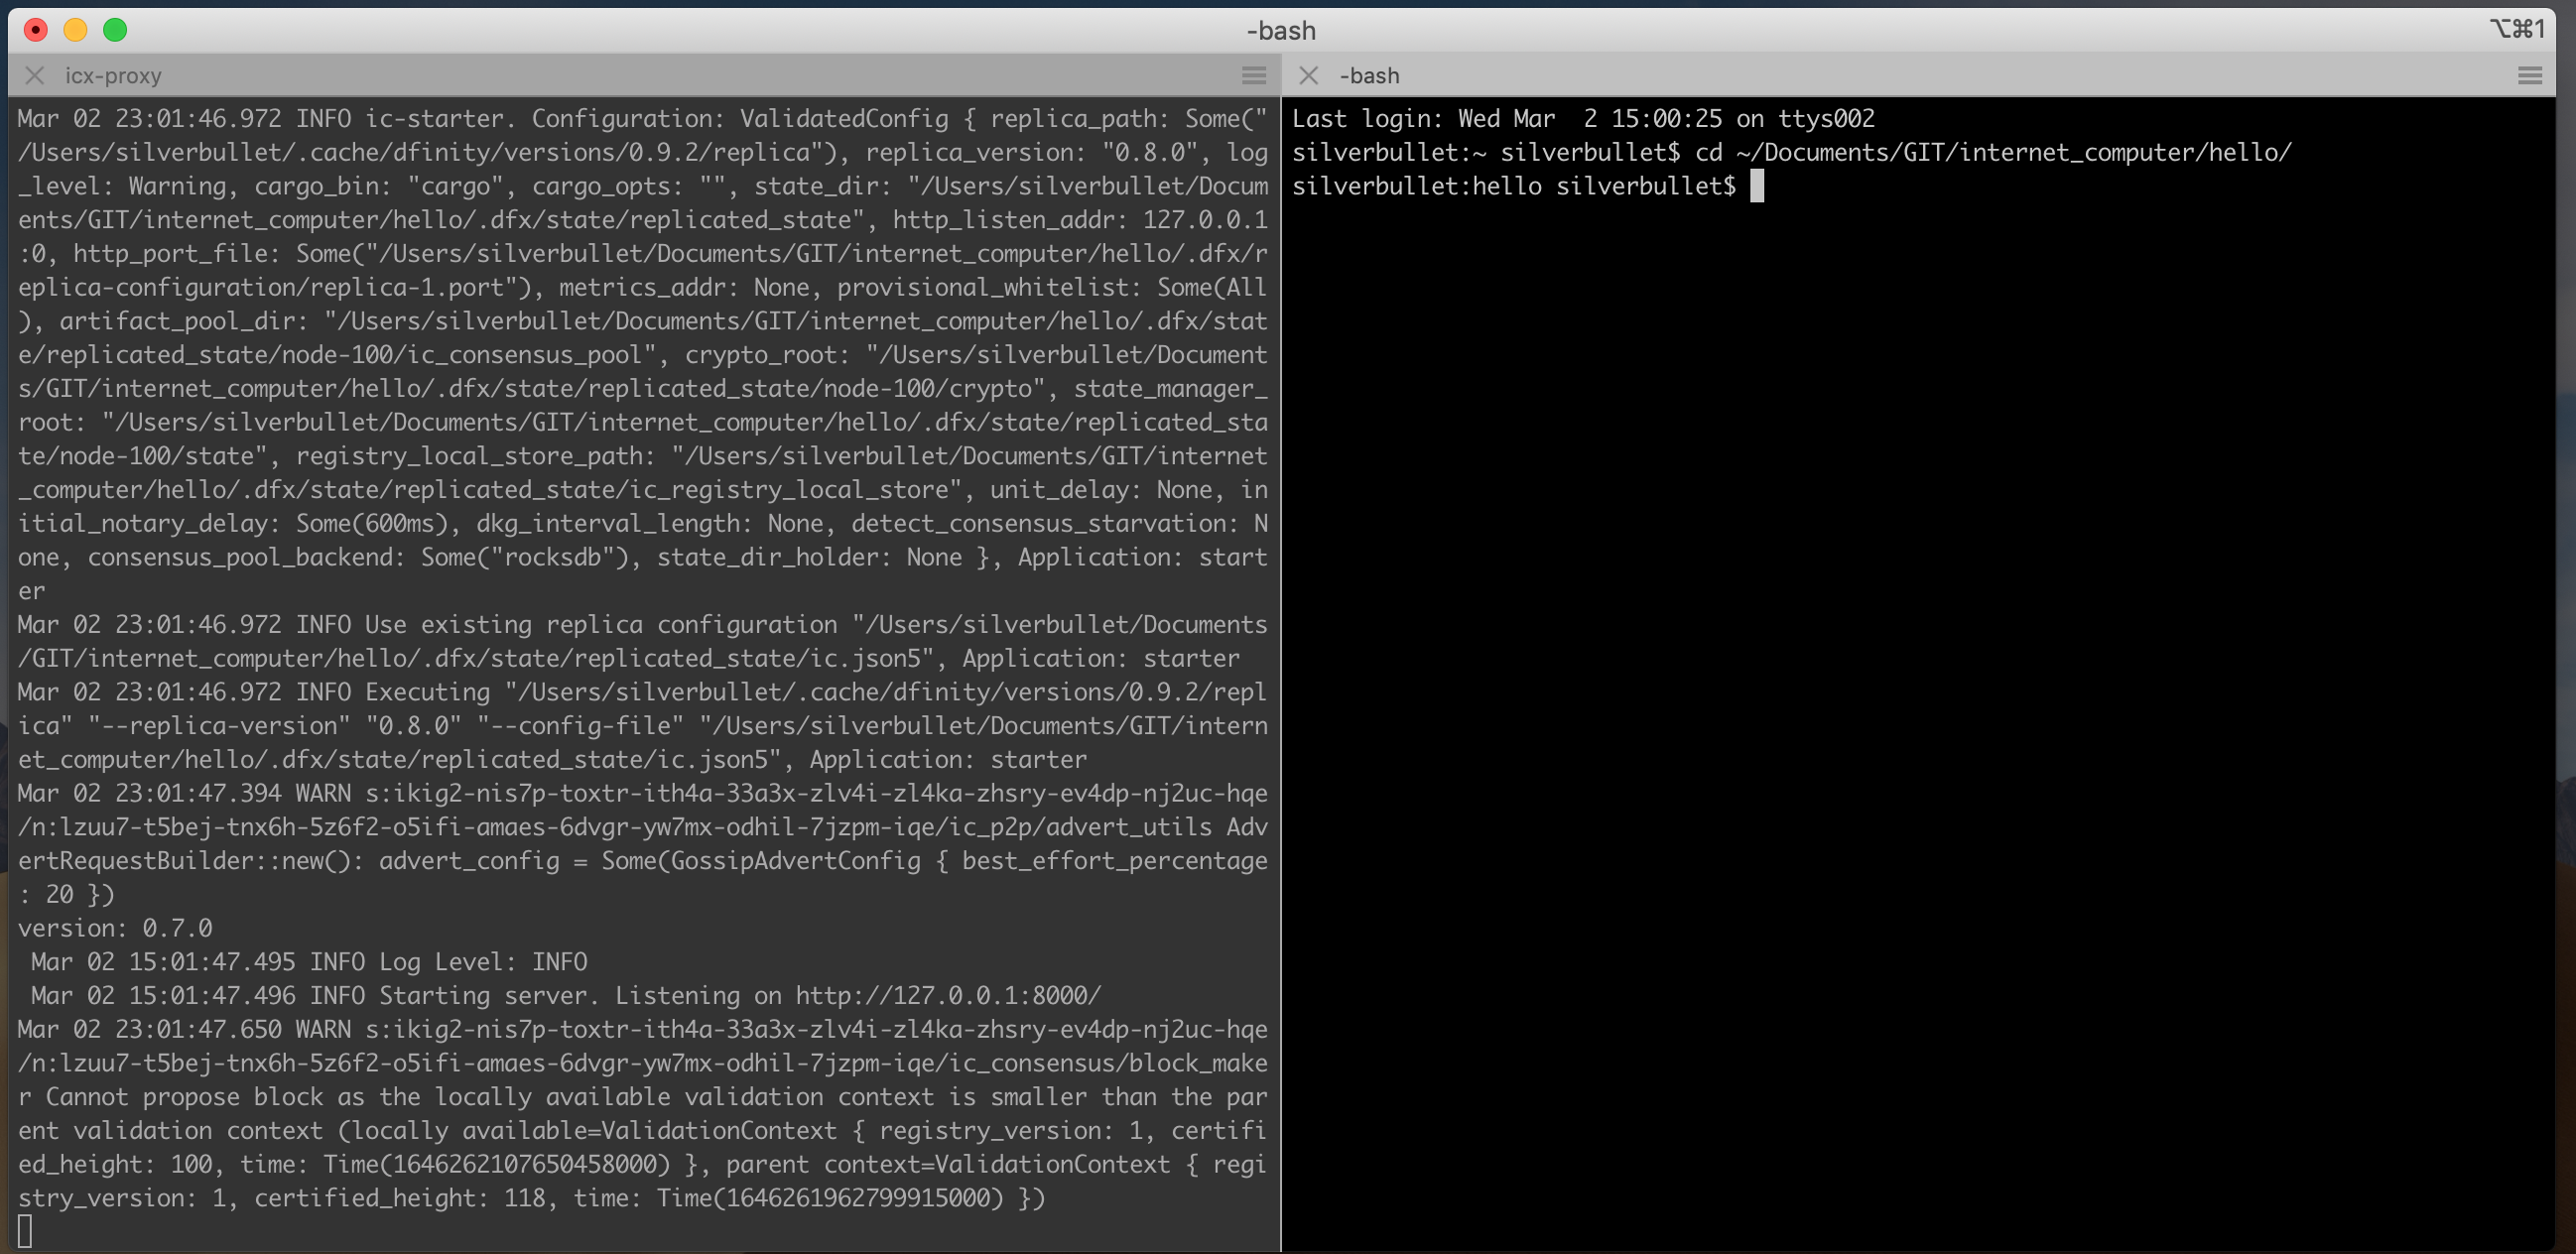
If you want a screen like mine, install iTerm2 via homebrew and read this article Oh-My-Zsh (Archive, 1, 2).
brew install --cask iterm2
Step 6 - Deploy Canister
Register, build, and deploy your first DApp.
dfx deploy
Verify your canister ID.
Step 7 - Deploy Node Front-End App
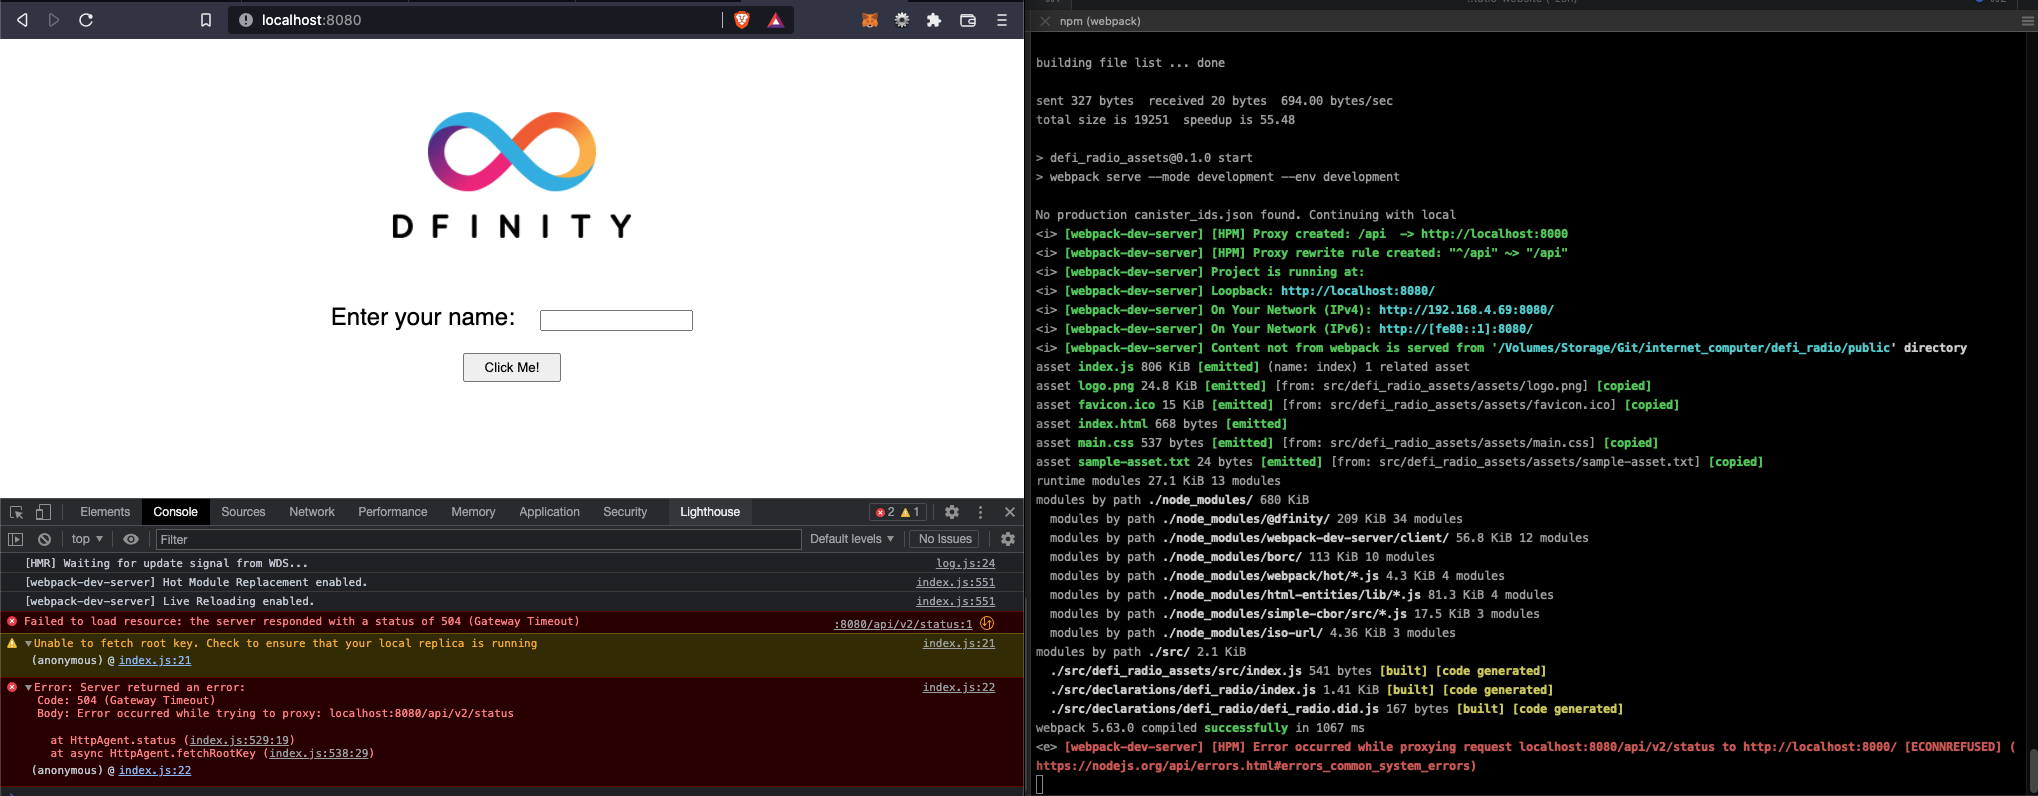
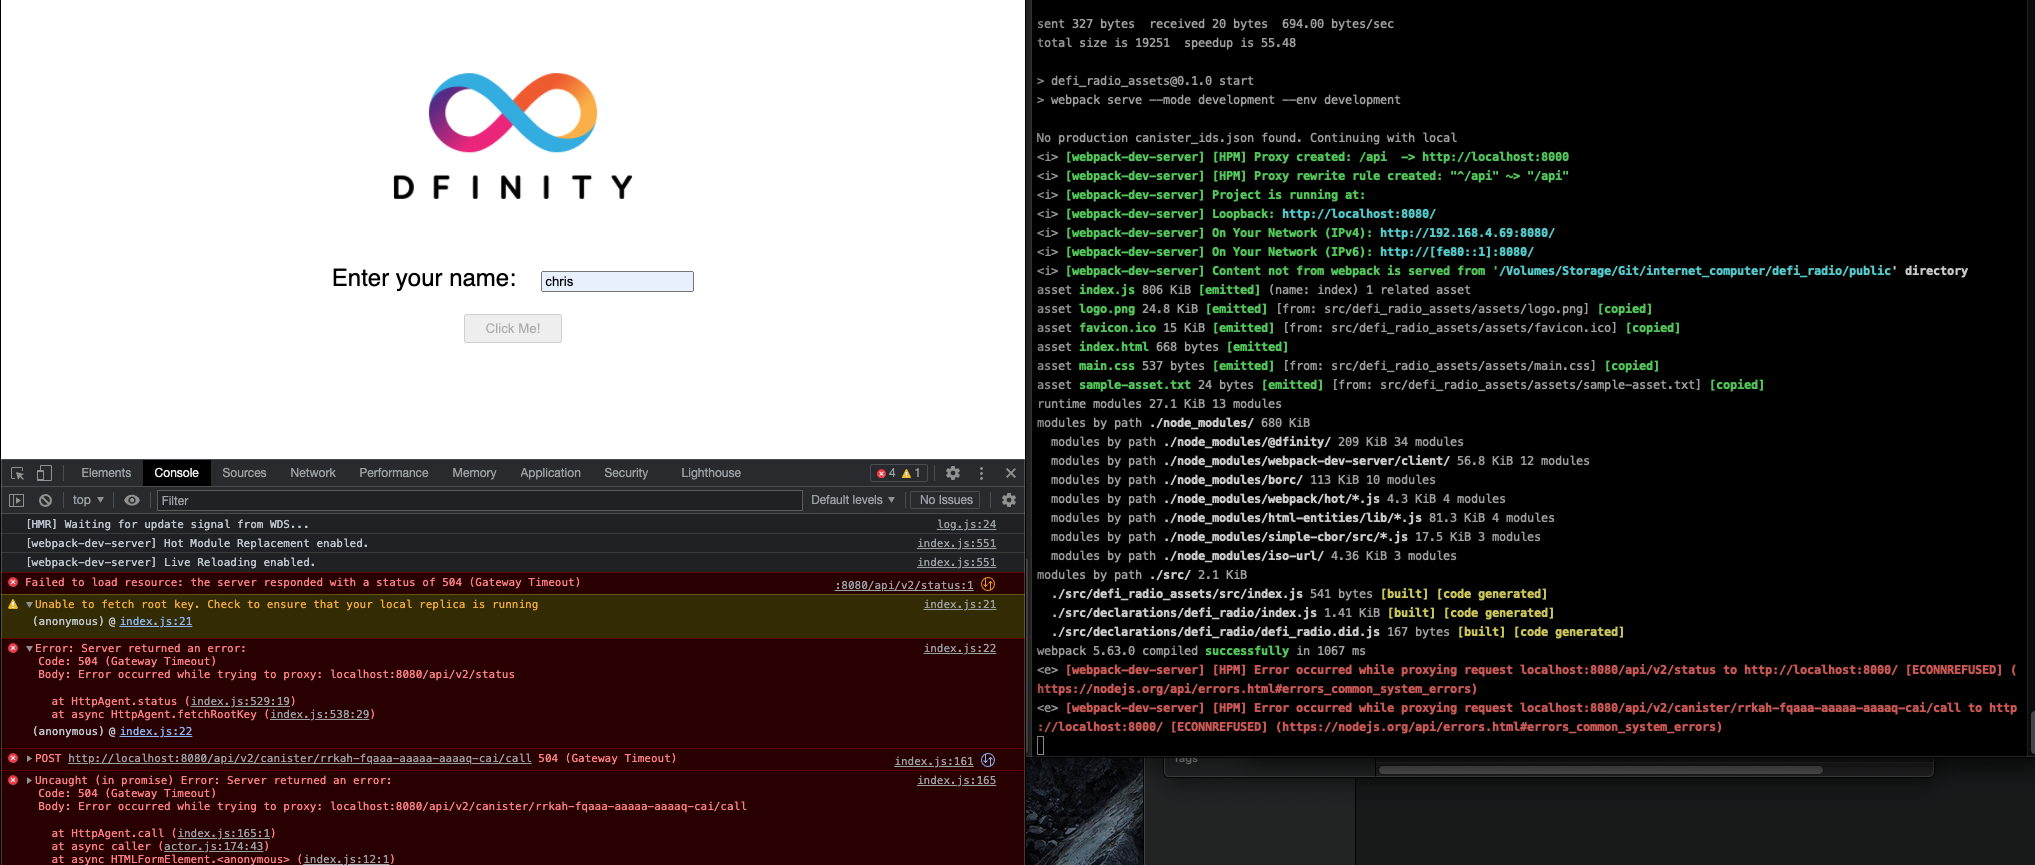
Unfortunately, I cannot get this app to work. I'm hoping someone from Dfinity can help me understand what I'm doing wrong.
npm start
